
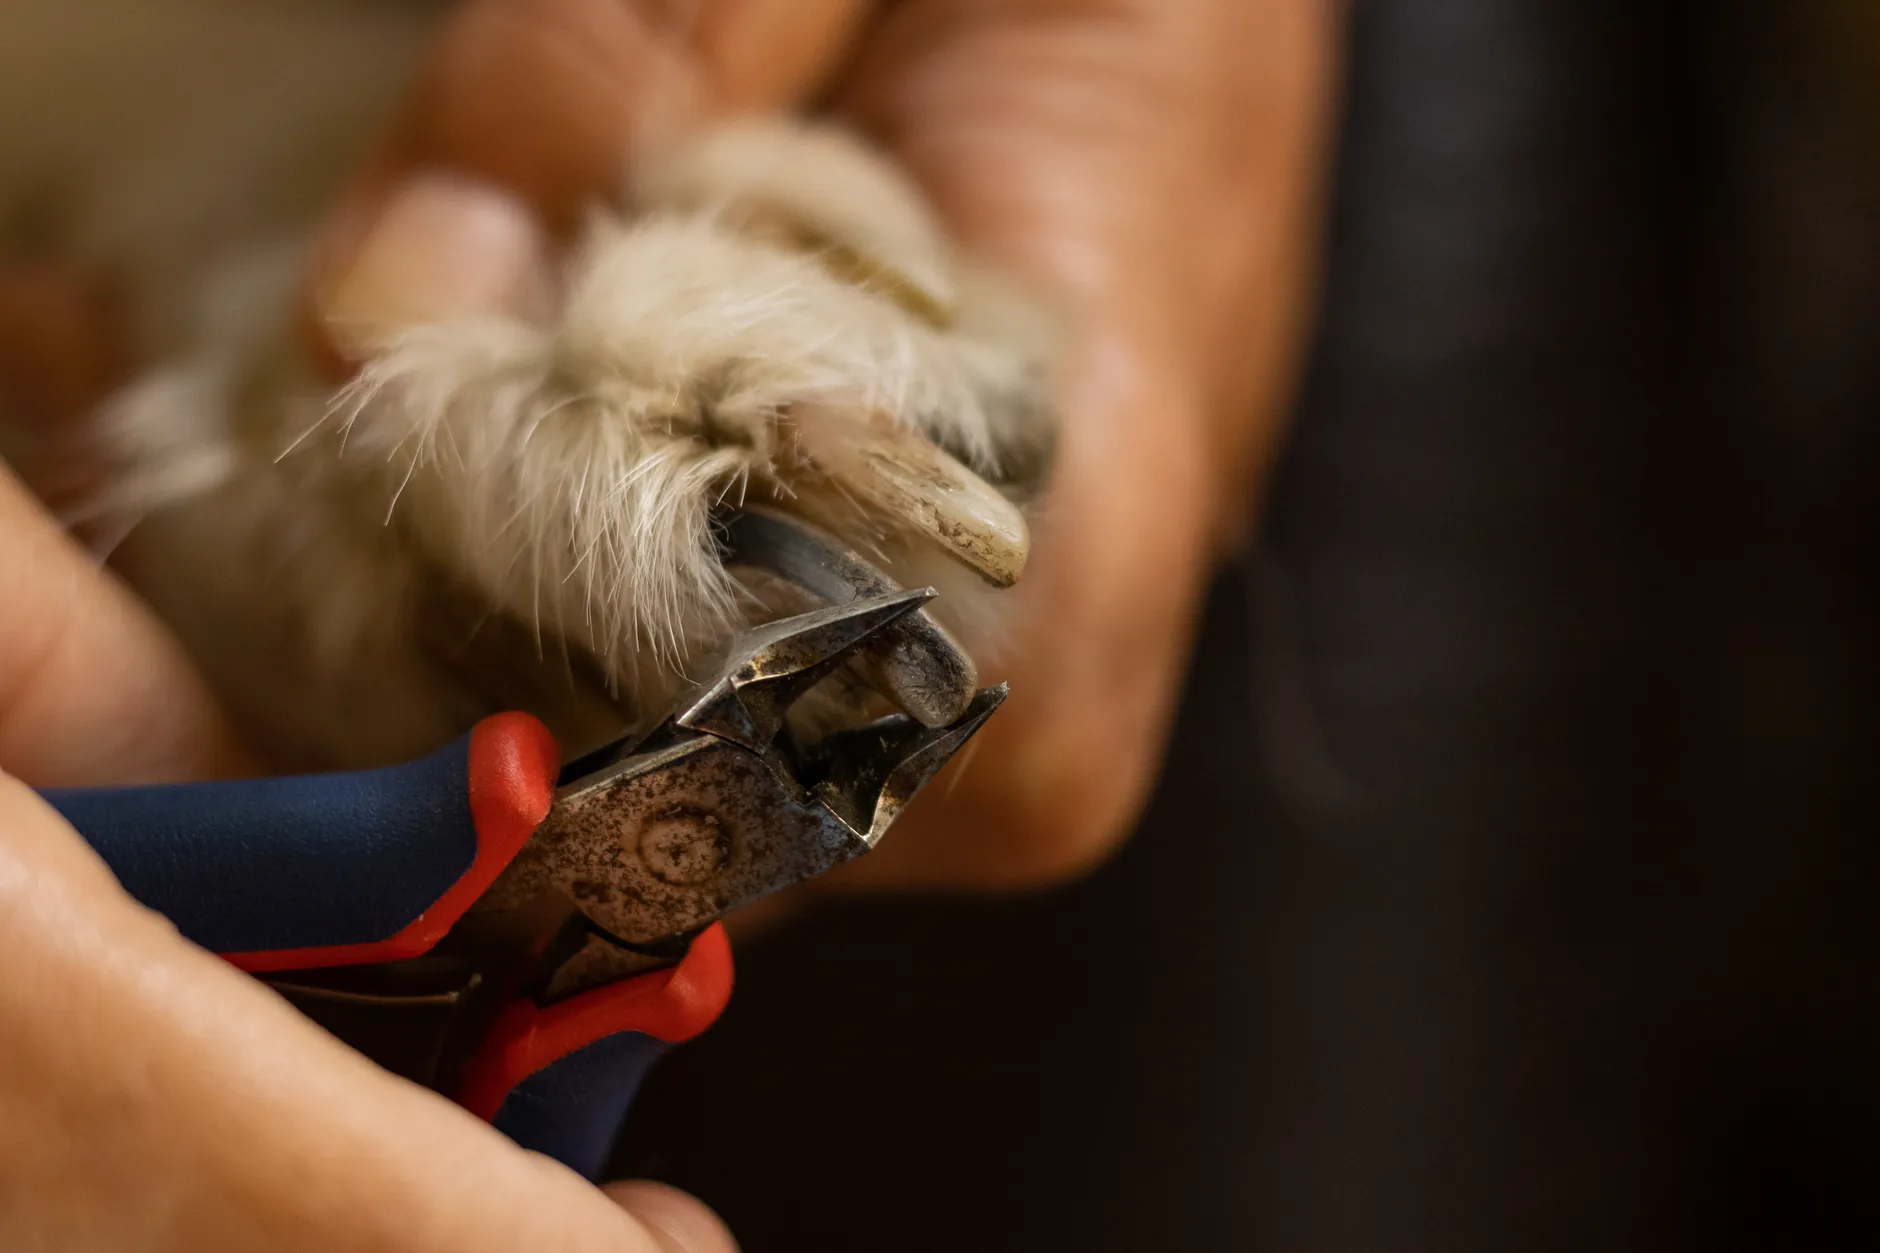
Nail trimming is one of the most avoided grooming tasks among dog owners — and one of the most important. Overgrown nails affect posture, cause pain, and can lead to infections. The good news: with the right equipment, technique, and patience, most owners can handle nail trims at home safely. This guide covers everything from choosing between clippers and grinders to managing dogs that panic at the sight of nail tools.
Why nail length matters
A dog's nails should clear the floor when the dog stands naturally. When nails touch or click on hard surfaces, they push the toes upward with every step — this changes how the dog distributes weight across the foot and alters joint angles all the way up the leg.
Short-term, overgrown nails cause discomfort and reluctance to walk on hard surfaces. Long-term, they contribute to:
- Postural changes — the dog shifts weight backward to take pressure off the toes, stressing the hock joints, knees, and spine
- Joint pain — altered gait mechanics place chronic stress on joints not designed for the modified load pattern
- Splayed toes — nails force the toes apart, reducing traction and grip on slippery surfaces
- Nail bed infections — severely overgrown nails can crack, split, or curl into the paw pad, creating entry points for bacteria
- Dewclaw injuries — dewclaws that are not trimmed can snag on fabric, carpet, or vegetation, causing painful tears that may require veterinary treatment
The quick — the blood vessel and nerve inside each nail — recedes when nails are trimmed regularly and extends when they are not. This means neglected nails become progressively harder to trim to a healthy length. Frequent, small trims encourage the quick to retreat over weeks, eventually allowing shorter nails without bleeding.
Equipment options
Three main tools exist for dog nail trimming. Each has clear trade-offs, and the best choice depends on your dog's size, nail colour, and temperament.
Guillotine clippers
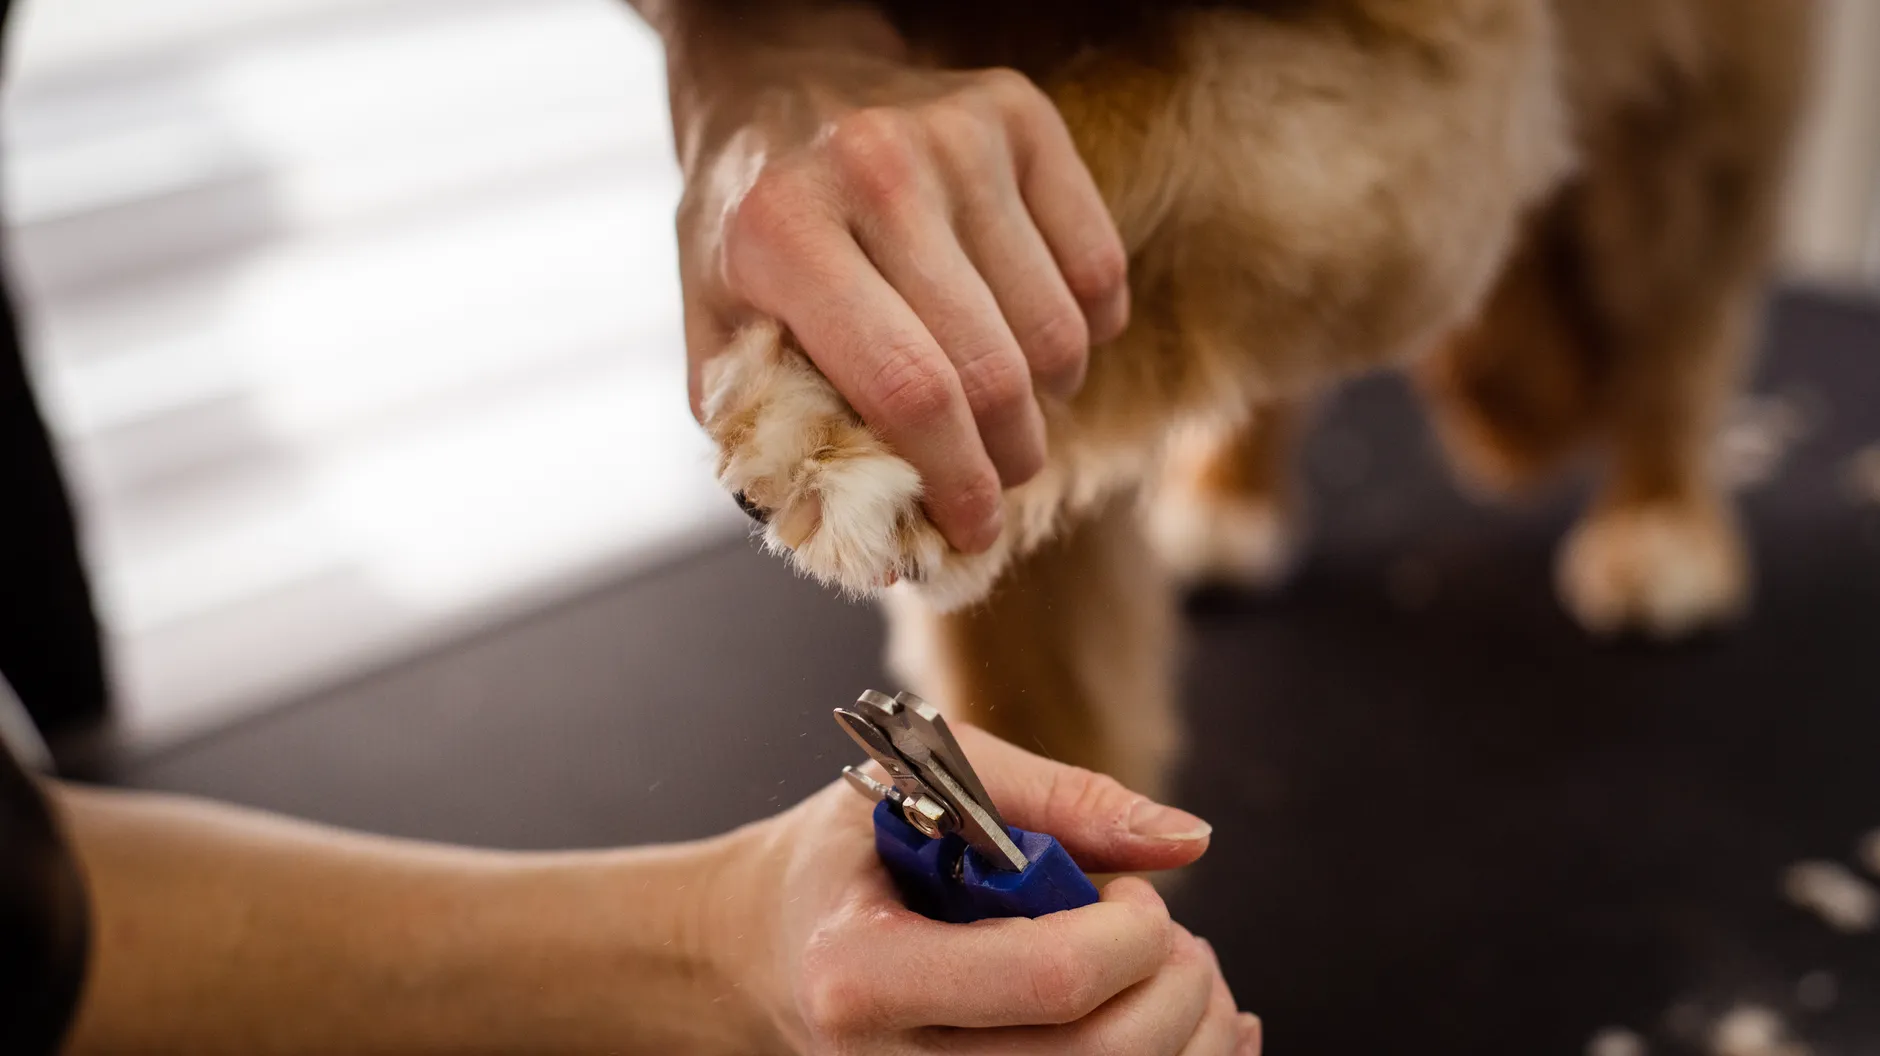
A stationary ring holds the nail while a single blade slides across to cut. Best for small to medium dogs with thin to medium nails. They provide a clean cut with minimal force but struggle with thick, large-breed nails. The blade must be replaced or sharpened regularly — a dull guillotine crusher crushes rather than cuts, causing pain and splitting. Not recommended for giant breeds.
Scissor (plier-style) clippers
Two curved blades close together like scissors. The most versatile option — suitable for all dog sizes and nail thicknesses. They require more hand strength than guillotine clippers but give better control on thick nails. This is the preferred tool for medium to large breeds and the most commonly recommended by veterinarians and groomers. Choose a size appropriate for your dog — small clippers on large nails require excessive force and produce uneven cuts.
Nail grinders (rotary tools)
An electric or battery-powered rotary tool with a sanding drum that gradually files the nail down. Grinders eliminate the risk of cutting too short in one motion because material is removed slowly. They are particularly useful for dark-nailed dogs where the quick is not visible. The downsides: noise and vibration can frighten some dogs, sessions take longer than clipping, and the friction generates heat — hold the grinder against each nail for no more than 3 to 4 seconds at a time to avoid discomfort. Many owners use a combination approach: clip the bulk of excess nail with scissor clippers, then smooth and finish with a grinder.
| Feature | Guillotine clippers | Scissor clippers | Nail grinder |
|---|---|---|---|
| Best for | Small to medium dogs | All sizes | Dark nails, anxious dogs |
| Speed | Fast | Fast | Slow |
| Quick risk | Moderate | Moderate | Low |
| Noise | Quiet | Quiet | Moderate to loud |
| Thick nails | Poor | Good | Good |
| Maintenance | Replace blade | Sharpen or replace | Replace sanding bands |
Regardless of tool choice, always have styptic powder on hand before starting a trim. It stops bleeding within seconds if you accidentally cut the quick.
How to find the quick
The quick is the living tissue inside the nail containing blood vessels and nerves. Cutting into it causes pain and bleeding. Learning to identify where the quick ends is the most important nail trimming skill.
Light-coloured nails
Light or white nails are straightforward: hold the paw up to a light source and look for the pink line running through the centre of the nail. This is the quick. Trim at least 2 mm below where the pink colour ends. The translucent white portion beyond the quick is safe to cut. If the nail curves downward significantly, the quick typically follows the curve for about two-thirds of the nail length.
Dark-coloured nails
Dark nails are more challenging because the quick is not visible from outside. The safest approach is incremental trimming:
- Trim 1 to 2 mm from the tip of the nail
- Examine the cross-section of the freshly cut surface
- If the cross-section is uniformly white or grey, it is safe to trim more
- When a small dark dot or circle appears in the centre of the cross-section, stop — this is the pulp layer just before the quick
- If the cross-section looks moist or pink, you have reached the quick — do not cut further
This incremental approach is slower but virtually eliminates the risk of cutting into the quick. With practice, most owners learn to read the cross-section confidently within a few sessions.
Step-by-step trimming process
Follow these steps for a safe, efficient nail trim at home. If this is your first time, consider trimming one paw per session until both you and your dog are comfortable with the process.
- Gather your equipment: sharp clippers or grinder, styptic powder, high-value treats (small, soft pieces the dog loves), and a towel. Verify clipper blades are sharp — dull blades crush and split nails.
- Choose the right moment: trim after a walk or play session when your dog is calm and tired. Avoid trimming when the dog is hungry, wired, or already stressed from another event.
- Position the dog: small dogs can sit on a non-slip surface at table height. Large dogs do best lying on their side or sitting while you kneel beside them. A helper can steady the dog and deliver treats. Hold the paw firmly but without squeezing the toes.
- Identify where to cut: for light nails, spot the pink quick and stay 2 mm away. For dark nails, plan to trim in small increments, checking the cross-section after each cut.
- Cut at a 45-degree angle: position the clipper so the blade meets the nail at roughly 45 degrees from underneath, following the nail's natural curve. Make one clean, confident cut — hesitant partial squeezes crush the nail.
- Work through all four paws: move methodically from one paw to the next. Do not skip the dewclaws on the inner front legs (and rear dewclaws, if present). Dewclaws never contact the ground and are the most likely nails to overgrow dangerously.
- Reward and inspect: treat generously after each paw or after the session. Check for rough edges and smooth them with a nail file or brief grinder contact. Inspect for any cracking or splitting.
Handling anxious dogs
Many dogs dislike nail trimming — some tolerate it reluctantly, others panic completely. Forcing a terrified dog creates a progressively worse problem: each stressful session reinforces the fear. The evidence-based approach is systematic desensitisation combined with counter-conditioning.
Desensitisation programme (2 to 4 weeks)
The goal is to build positive associations with every component of the nail trimming process before any actual trimming occurs. Progress at the dog's pace — if the dog shows stress at any step, stay at the previous step for several more sessions before advancing.
- Week 1: Handle paws daily during relaxed moments. Hold each paw for 3 to 5 seconds, touch each toe, then deliver a high-value treat. Do this 2 to 3 times per day.
- Week 2: Introduce the clippers or grinder visually. Place the tool on the floor near the dog during treat time. Pick it up, show it, give a treat, put it away. Touch the tool to the dog's body (not paws) and treat.
- Week 3: Touch the clipper to a nail without cutting. For grinders, turn the grinder on near the dog (not touching) and treat. Gradually bring it closer over multiple sessions.
- Week 4: Trim one nail, immediately treat. One nail per session. Gradually increase the number of nails per session as the dog remains relaxed.
Counter-conditioning tips
- Use treats the dog only receives during nail sessions — this makes the reward novel and high-value
- A lick mat with peanut butter (xylitol-free) or cream cheese can occupy the dog during trimming
- Keep sessions short — 5 minutes maximum — even if you only trim two nails
- End every session on a positive note, even if you trimmed fewer nails than planned
- Never punish or scold a dog for pulling away or vocalising during nail trims
Muzzle use
If your dog has a history of snapping or biting during nail trims, a basket muzzle is a reasonable safety measure — but it is not a substitute for desensitisation. A muzzle prevents injury; it does not reduce the dog's fear. Use the muzzle as a safety tool while simultaneously working through a desensitisation programme. The dog should be separately conditioned to accept the muzzle before combining it with nail trimming. See our dog first aid guide for muzzle fitting and conditioning advice.
When to see a professional
Home trimming is appropriate for most dogs, but some situations call for professional help:
- Severely overgrown nails — nails that have curled under or into the pad need careful cutting that may require sedation; a veterinarian should handle these
- Extreme fear or aggression — dogs that cannot be safely restrained at home may need veterinary sedation for nail trims until a desensitisation programme takes effect
- Nail injuries — split, cracked, or torn nails that expose the quick should be assessed by a vet to rule out infection and manage pain
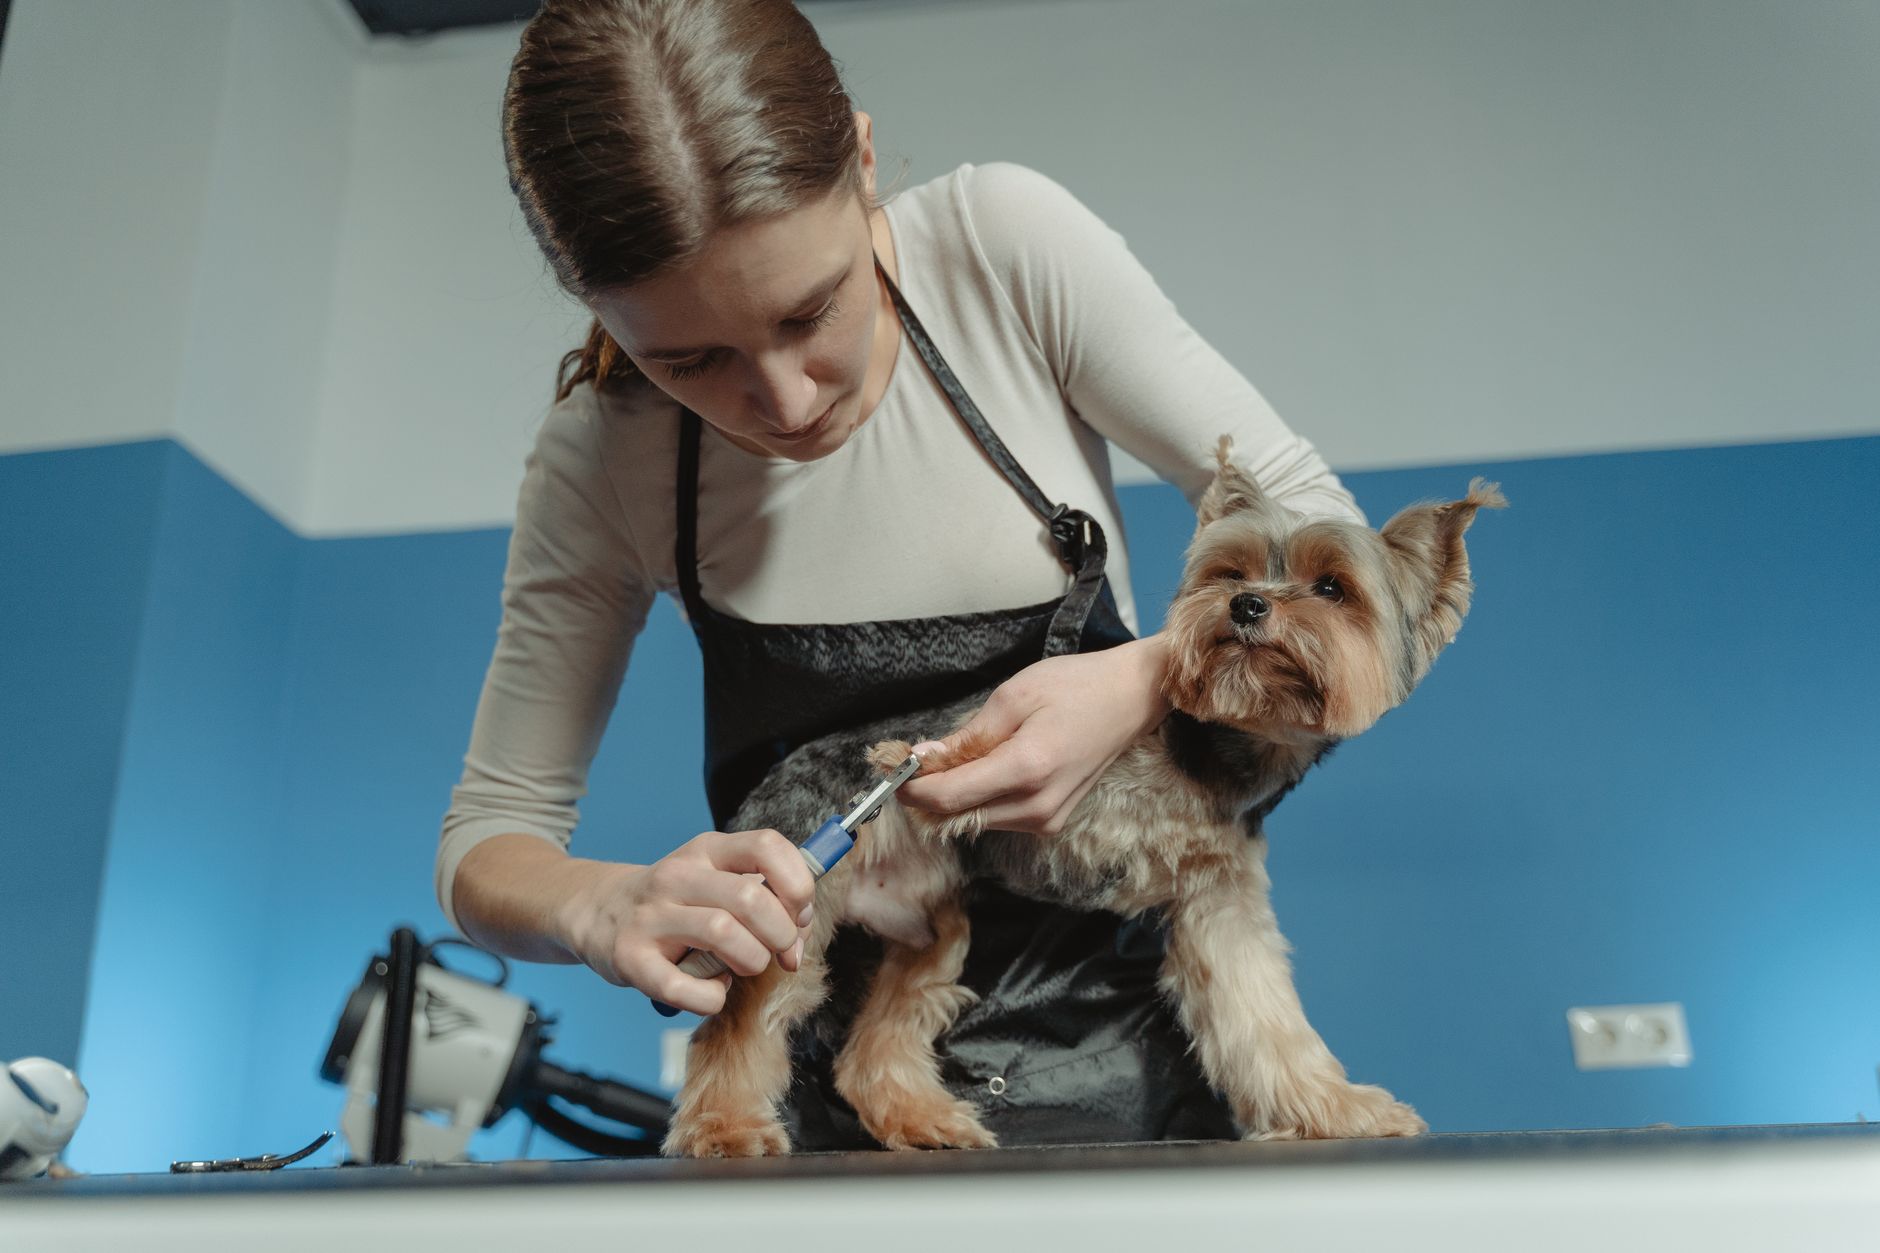
- Owner discomfort — if you consistently feel anxious about cutting the quick, your stress transfers to the dog; a groomer or vet tech can demonstrate technique in person
- Medical conditions — dogs with bleeding disorders, brittle nails (sometimes linked to nutritional deficiencies or autoimmune conditions), or nail bed infections need veterinary oversight
Professional nail trims typically cost between $10 and $25 per session at a grooming salon, or may be included in a regular grooming appointment. Many veterinary clinics offer walk-in nail trims as a standalone service.
Frequency guide: how often to trim
Nail growth rate varies by breed, age, diet, and activity level. Use the following as a starting framework and adjust based on what you observe:
- Dogs walking mainly on concrete or asphalt — every 6 to 8 weeks; hard surfaces act as natural files and significantly slow visible growth
- Dogs walking on grass, dirt, or carpet — every 3 to 4 weeks; soft surfaces provide no filing effect
- Indoor dogs or senior dogs with reduced activity — every 2 to 3 weeks; less movement means less natural wear
- Puppies — start handling paws and trimming from 8 weeks old at 2-week intervals to normalise the process early; puppy nails are softer and grow quickly
- Dewclaws (all dogs) — every 3 to 4 weeks regardless of activity level; they never contact the ground
The simplest check: if you hear nails clicking when your dog walks across a hard floor, they are overdue for a trim. Use the Dog Grooming Schedule Generator to build a personalised grooming calendar that includes nail trim reminders alongside brushing, bathing, and dental care.
Breeds with particularly fast nail growth or nails that resist wear include Chihuahuas (often carried or on soft surfaces), Dachshunds (low ground clearance traps moisture and softens nails), and Great Danes (large nails grow quickly despite their size). Breeds that walk heavily on pads, such as Siberian Huskies and German Shepherds, tend to wear nails down more naturally — but dewclaws still need manual attention.
Frequently asked questions
- How short should I cut my dog's nails?
- Trim until the nail no longer touches the floor when the dog stands naturally on a hard surface. For light-coloured nails, stop approximately 2 mm before the pink quick becomes visible. For dark nails, trim in small increments and stop when the cross-section shows a dark centre surrounded by a lighter ring — that lighter ring indicates you are approaching the quick. It is always safer to trim less and trim more frequently than to cut too short in one session.
- What do I do if I cut the quick?
- Stay calm — your dog will react to your stress. Apply styptic powder (or a styptic pencil) directly to the bleeding nail tip and hold firm pressure for 30 seconds. If you do not have styptic powder, cornstarch or flour packed onto the nail can slow bleeding. Most quick injuries stop bleeding within 5 to 10 minutes. If bleeding continues beyond 15 minutes or the dog shows signs of significant pain, contact your veterinarian.
- How often should I trim my dog's nails?
- Most dogs need nail trims every 3 to 4 weeks. Dogs that walk frequently on concrete or asphalt may need trims every 6 to 8 weeks because hard surfaces naturally file the nails. Dogs that primarily walk on grass, carpet, or soft surfaces need more frequent trims. Dewclaws (the "thumb" nail on the inner leg) never contact the ground and always need manual trimming. A good rule: if you hear clicking on hard floors, the nails are overdue.
- Should I use a grinder or clippers?
- Both are effective. Clippers are faster and quieter but carry a higher risk of cutting too short in one squeeze. Grinders are slower and noisier but allow gradual removal with less risk of hitting the quick. Many owners prefer grinders for dark-nailed dogs because the incremental approach provides better control. Some dogs tolerate one tool but not the other — let your dog's comfort guide the choice.
- My dog panics when I try to trim nails. What should I do?
- Forcing a panicking dog creates a lasting negative association. Start a desensitisation programme: handle the paws daily without trimming (reward with high-value treats), then introduce the sight and sound of clippers over several days, then touch the clippers to a nail without cutting, and finally trim one nail per session. This process takes 2 to 4 weeks but produces lasting cooperation. If your dog's anxiety is severe, a veterinary behaviourist can design a tailored plan.
- Can overgrown nails cause health problems?
- Yes. Overgrown nails force the toe joints into unnatural positions, altering the dog's gait and weight distribution. Over time, this causes joint stress, changes in posture, and pain in the feet, legs, and spine. Severely overgrown nails can curl into the paw pad, causing infection and lameness. Dewclaws are particularly prone to growing into the pad because they receive no ground contact to slow growth.


